This section outlines the steps for implementing multi-factor authentication in Email. In addition to authentication by user ID and password, authentication by one-time password can be obtained after setting up Multi-Factor Authentication (MFA). Having two or more authentication factors enhances your cyber security with email.
In the email system offered by CIS, multi-factor authentication, which incorporates OTP in addition to ID and password verification, is available when accessed from a non-global IP address.
An OTP is a single-use password with a limited validity period. The email system can generate OTPs in two ways, so please choose the method that best suits your situation. | 情報 |
|---|
| - Generate an OTP by installing a dedicated app on your smartphone.
- Receive one at a private email address (an email address other than @kit.ac.jp or @edu.kit.ac.jp).
|
However, if circumstances arise, such as changing or losing your smartphone model or forgetting the password for your private email address, please configure the system to ensure you have both options available.
Followed by the setup of the dedicated app, proceed to set up your private email address in this process.
| 注意 |
|---|
| Multi-factor authentication is applied when the setting is enabled for wireless LANs with authentication (KITnetX, KITnetW), information outlets with authentication, and eduroam. However, for the global IP address connections, such as seminar rooms, self-study rooms, web browsing corners, web browsing rooms, faculty rooms, student rooms, etc., multi-factor authentication is bypassed, even if the setting is enabled. |
Activating Multi-Factor AuthenticationMulti-factor authentication can be activated through Webmail. - Visit Webmail and log in.
https://webmail.cis.kit.ac.jp/ - Click 'Preferences' and then select 'Customize my Preferences'.
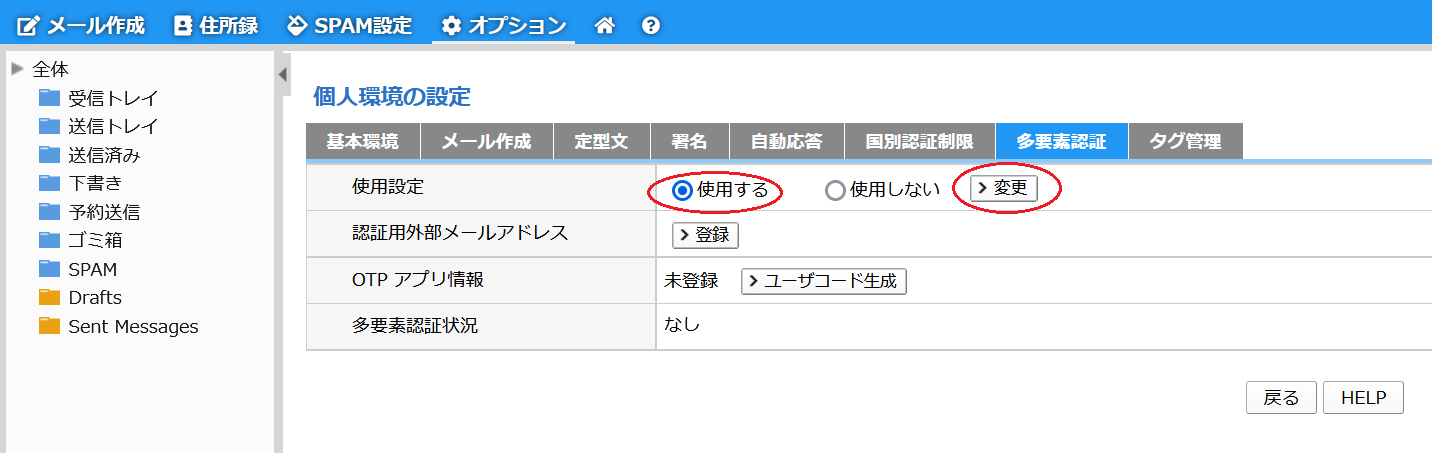
 - Select the 'Multi-Factor Auth' tab and check the radio button for 'Use Multi-Factor Authentication' to 'Yes'.
 - Afterward, log out of Webmail.
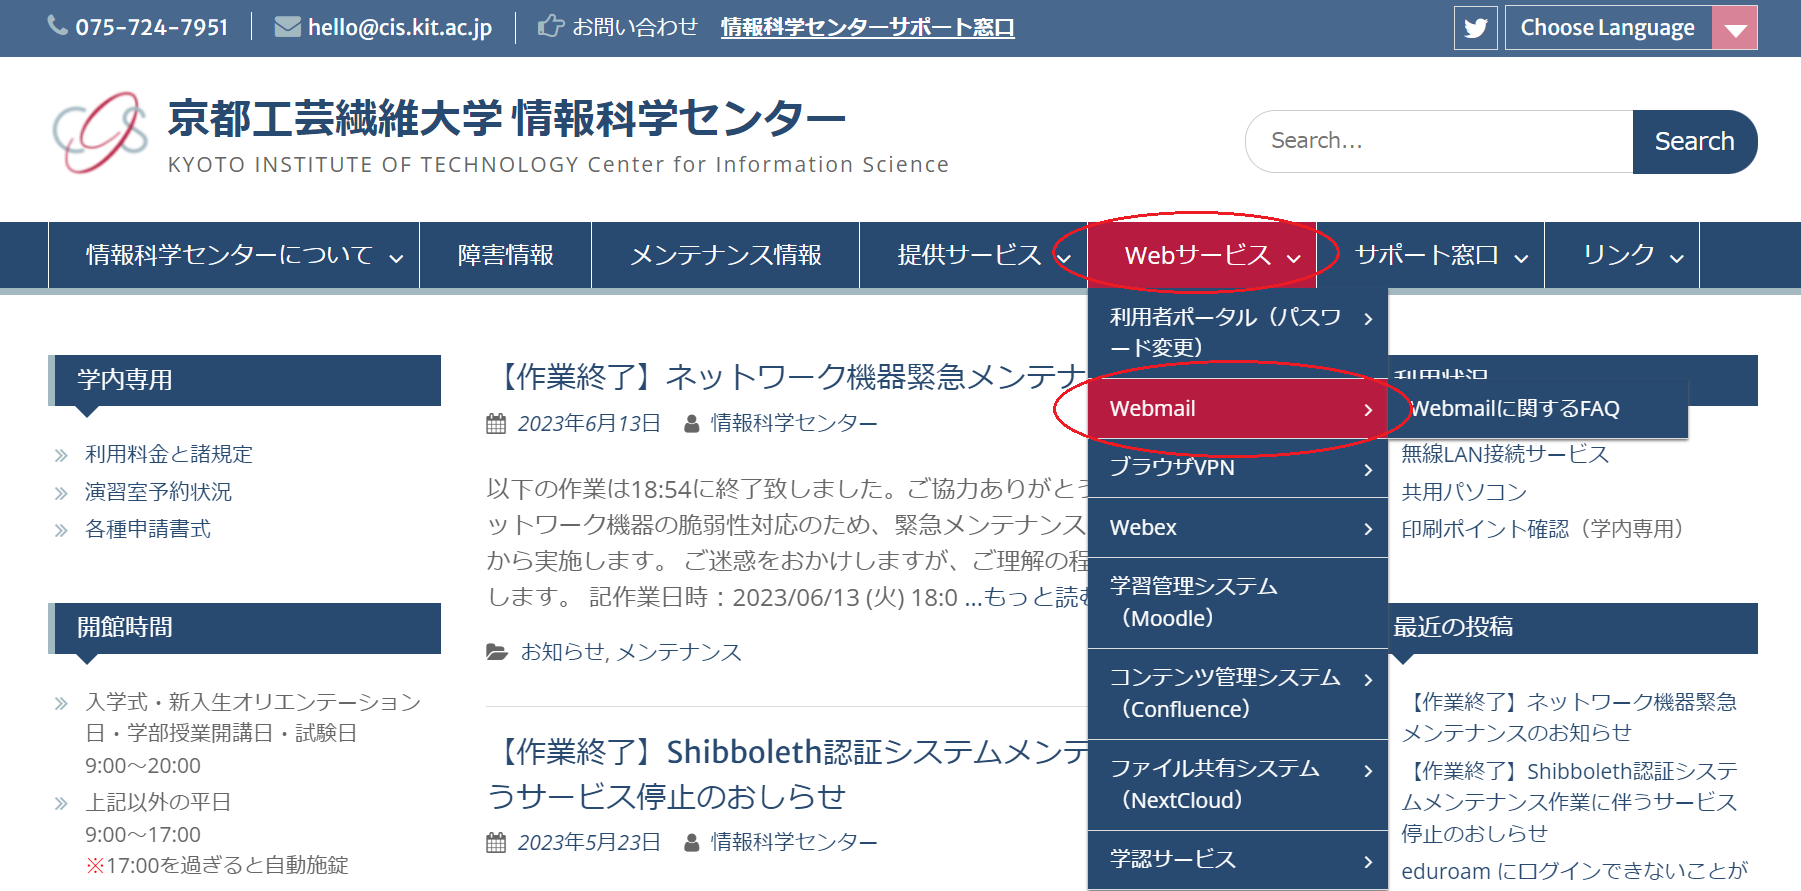
Setting up OTP APP- Visit Webmail and log in.
https://webmail.cis.kit.ac.jp/ - Click 'OTP APP'.
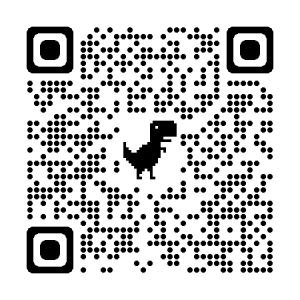
 Scan the QR code below and install the app. Alternatively, you can search for 'DEEPOTP' on Google Play or the Apple Store and install it.
【android】
【iOS】

[Mobile] Open the installed app and tap on 'Add'.
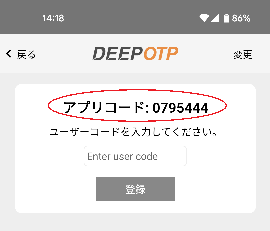
 - [Mobile] The app code is displayed.
*The app code is unique to each user and device. The image below is an example; please enter the code displayed in your app.
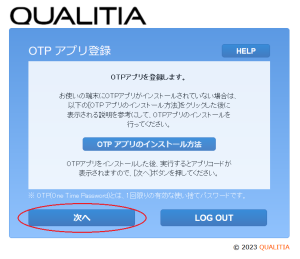
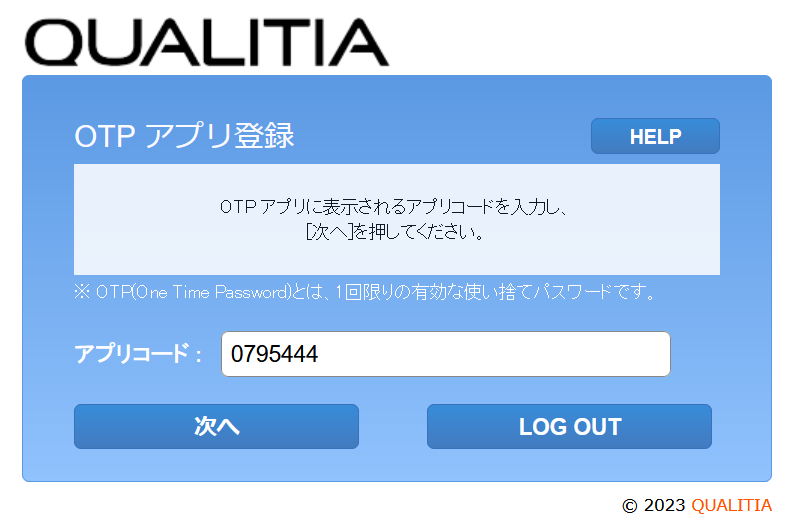
 - [Webmail] Return to your webmail, enter the app code, and click 'Next'.
 - [Webmail] Verify the user code.
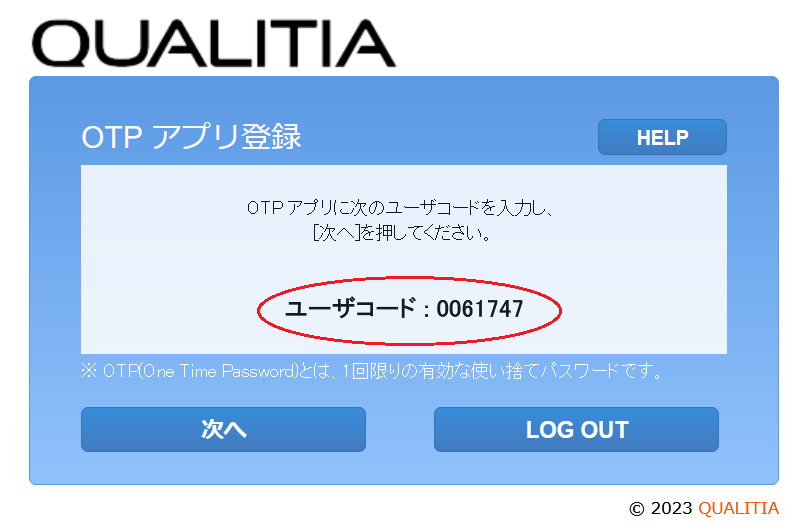 - [Mobile] Return to your mobile device, enter your user code, and tap 'Register.'
The user code varies depending on the user and device. The image below is an example; please enter the code displayed in your webmail.
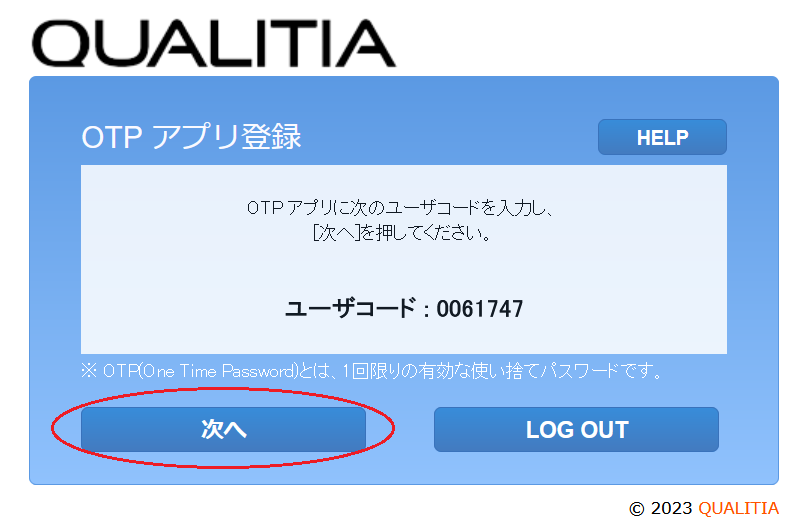
 - [Webmail] Click 'Next'.
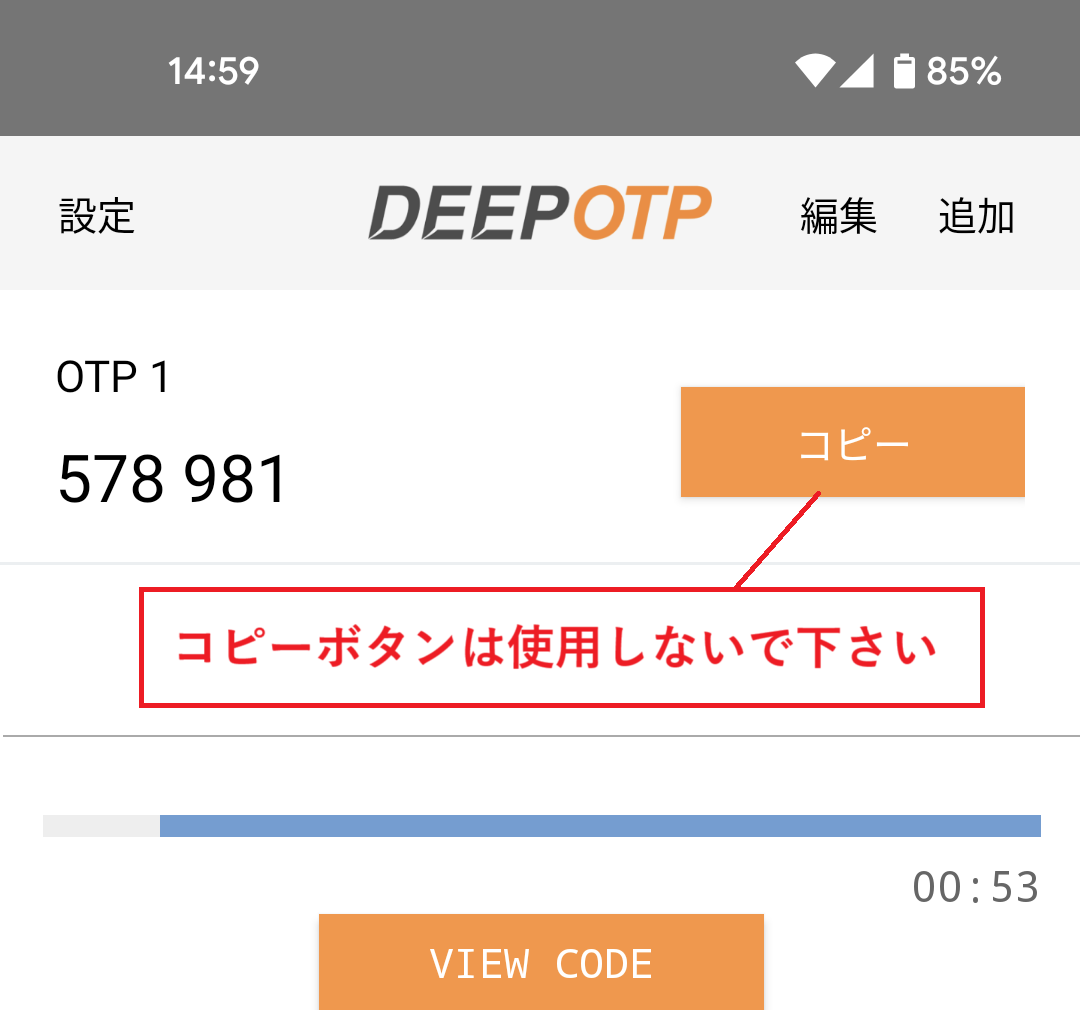
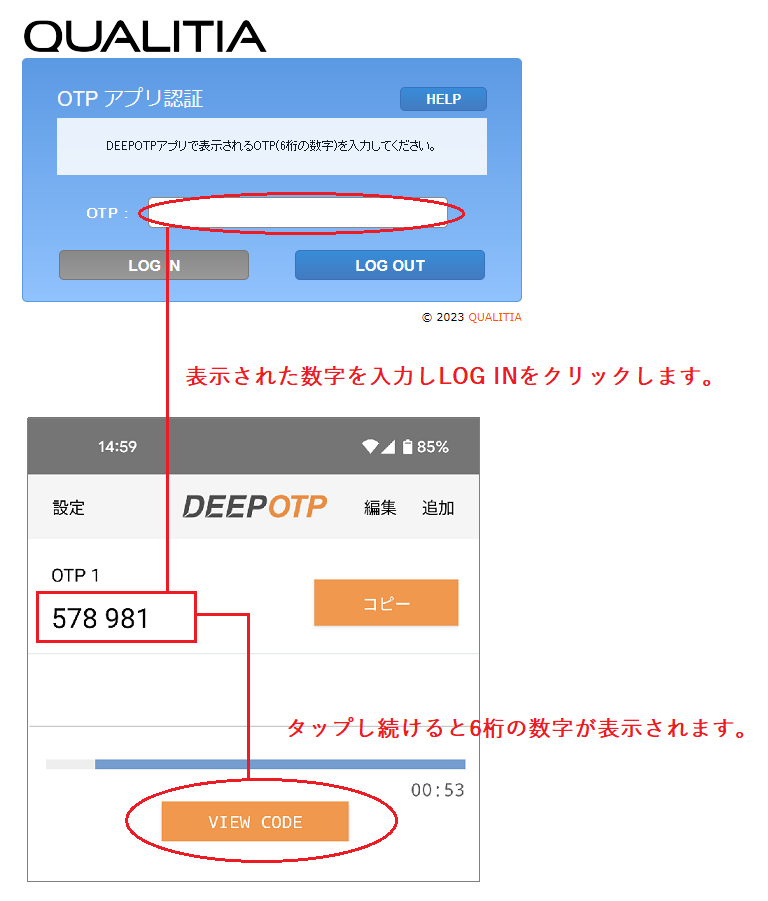
 - [Mobile] Tap (and hold) on 'VIEW CODE' in the app and check the 6-digit number that appears.
[Webmail] Enter this 6-digit number in the OTP field and click 'Next'.
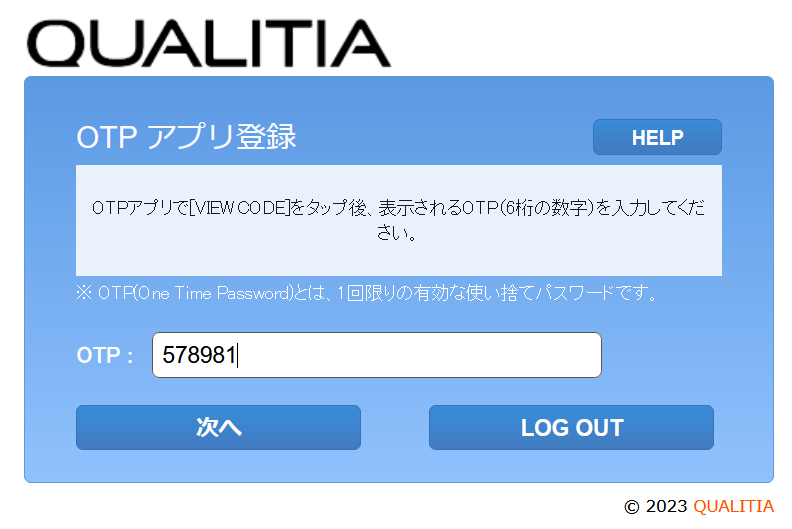 - [Webmail] Click 'HOME' to finish logging in to Webmail.

Configuring External(Private) email for authenticationAfter registering the OTP app, proceed to register your private email address.
The OTP will be sent to your private email address from the following sender with the specified subject: [Sender Name], [Subject].
Ensure to check your settings to prevent it from being sorted into spam or junk mail. | コード ブロック |
|---|
Sender:Your KIT email address(~@kit.ac.jp、~@edu.kit.ac.jp)
Subject:OTP notification |
- Click 'Preferences' and then select 'Customize my Preferences'.
- Select the 'Multi-Factor Auth' tab and click button 'Register' button for 'External email for authentication'.
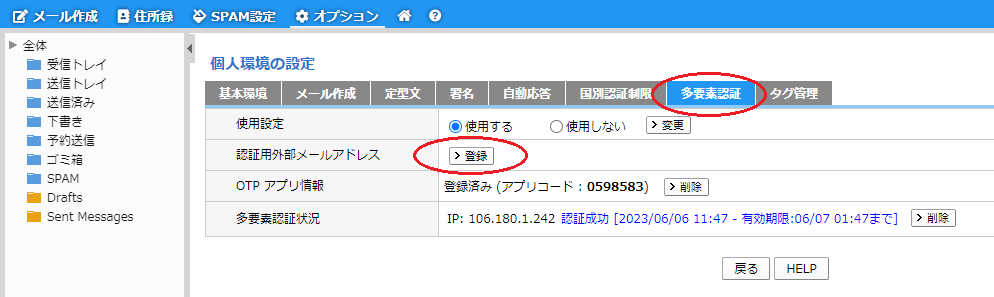 - When the screen prompts you to enter an external email address, input your private email address (an address other than @kit.ac.jp or @edu.kit.ac.jp) to receive the OTP, and then click OK.
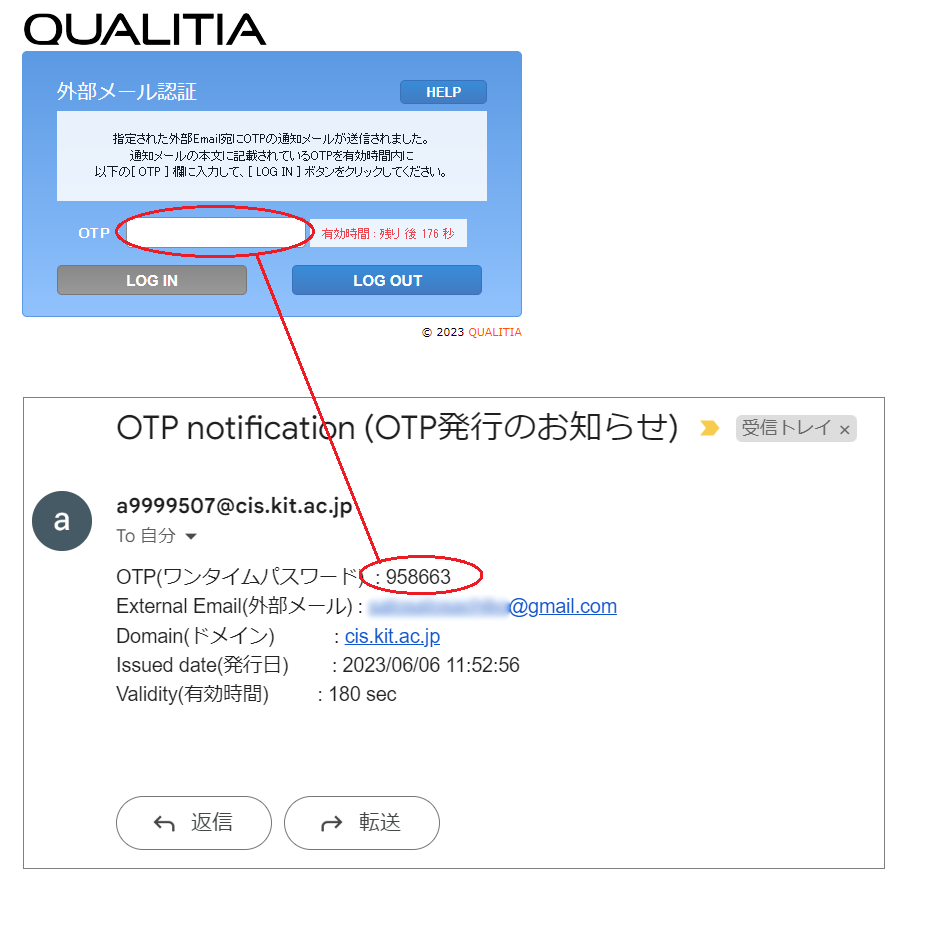
 - You will receive the following email at your private email address. Verify the listed OTP, input it in the webmail OTP field, and click OK.
 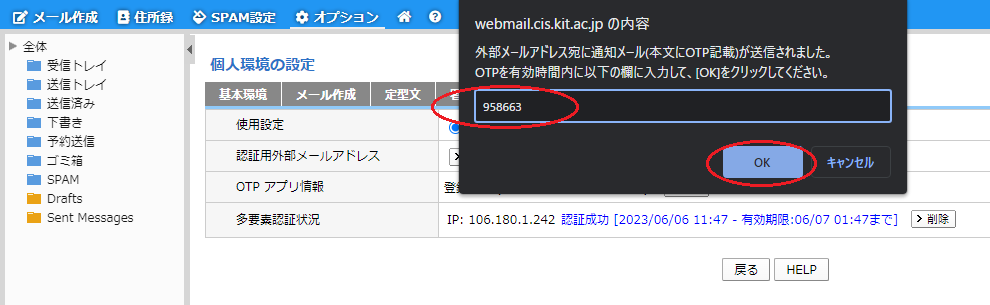 - The setup is complete if the private email address is shown in 'External email for authentication'.

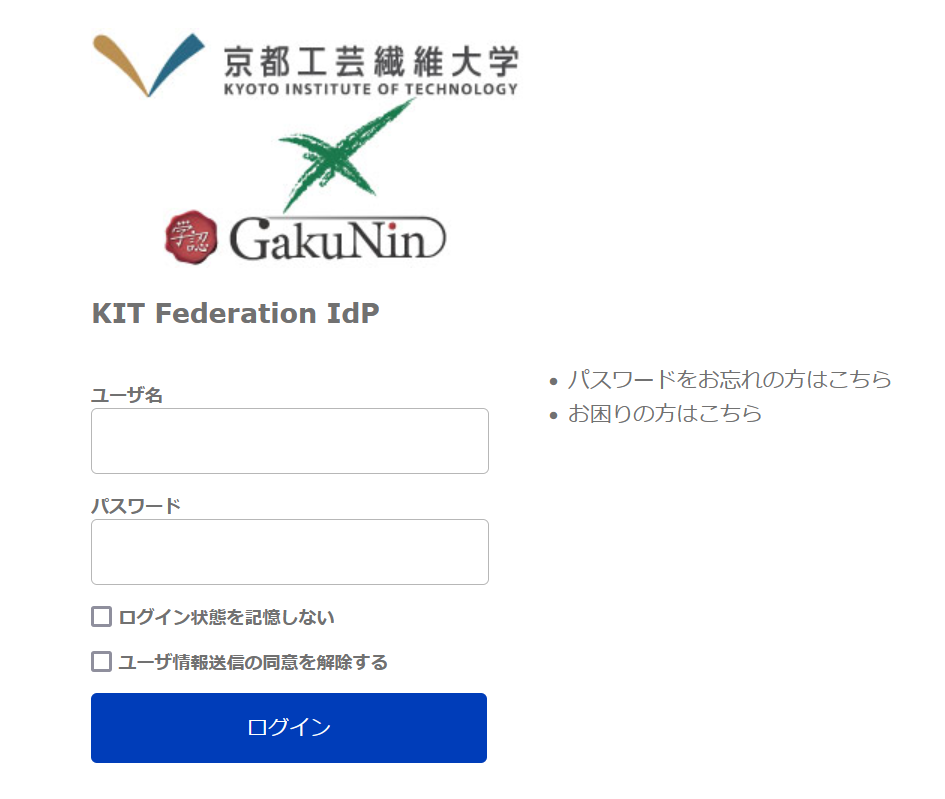
Logging in Webmail after setting up Multi-Factor Authentication- Visit Webmail and log in.
https://webmail.cis.kit.ac.jp/
 - Log in with your CIS username and password.
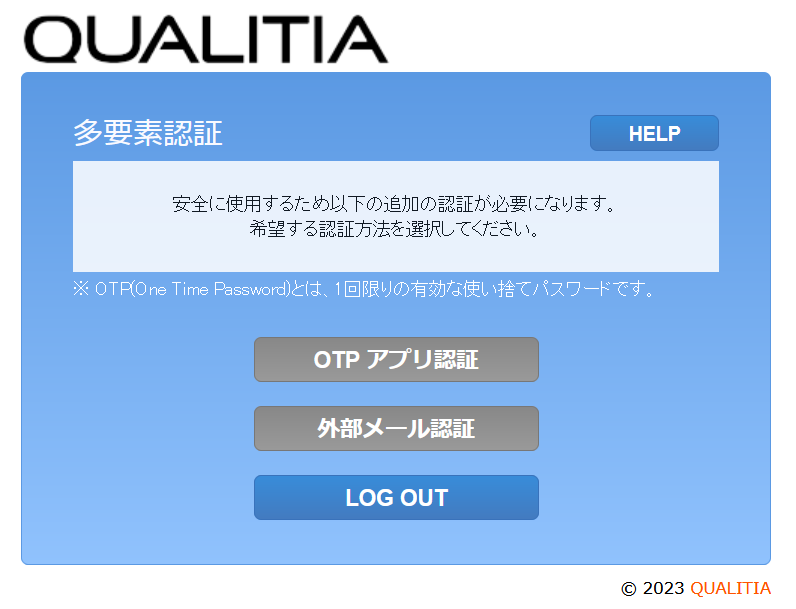
 - The multi-factor authentication screen will appear, prompting you to choose between OTP app authentication or external email authentication.
- [Choosing OTP app]
You will be prompted to enter the OTP. Begin by launching the installed DeepOTP app, inputting the displayed OTP, and then clicking on "Log In."
[Choosing external email authentication]
Click ”Issue OTP".
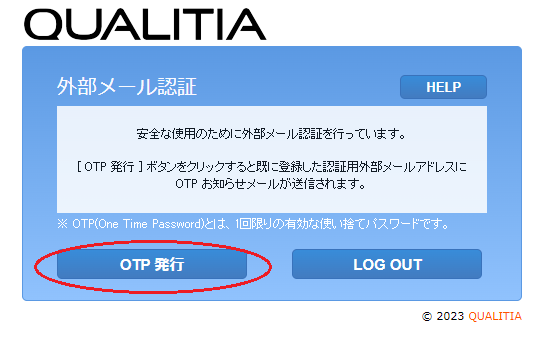
A notification email containing the OTP will be sent to the designated private email address on record.
Input the received OTP and click on "Log In."
Regarding the utilization of email software:When using email software, log in to your webmail first and complete the multi-factor authentication process before accessing your email software.
Multi-factor authentication remains valid for 14 hours. If your usage extends beyond this duration, kindly log in to your webmail again after the 14-hour period.
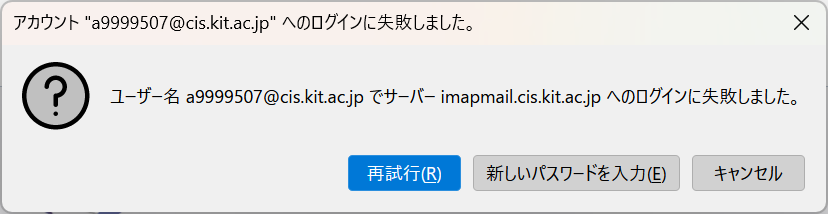
Attempting to initiate your email software without enabling multi-factor authentication and entering your password will result in the display of the following error message.
Please be aware that you will not receive a notification indicating the non-completion of multi-factor authentication.
The message below will appear when the email activation state reaches the expiration date for multi-factor authentication.
The duration of multi-factor authentication validityYou can review the expiration date of multi-factor authentication on the settings screen under 'Customize My Preferences'.

Related articles| ラベル別コンテンツ |
|---|
| showLabels | false |
|---|
| max | 5 |
|---|
| spaces | CISSUPINT |
|---|
| showSpace | false |
|---|
| sort | modified |
|---|
| reverse | true |
|---|
| type | page |
|---|
| cql | label in ("電子メール","多要素認証","mfa") and type = "page" and space = currentSpace() |
|---|
| labels | 仮想ウェブ |
|---|
|
|